
A broad topic.
Skin correction. Eye correction. Teeth correction. Lip correction. Hair correction. Balancing tones while maintaining colors. Where does retouching end and artificial appearance begin? Is it a natural look or an idealized one? How we look every day and how we accept this fact influences our approach to retouching. This aspect I leave to each person individually.
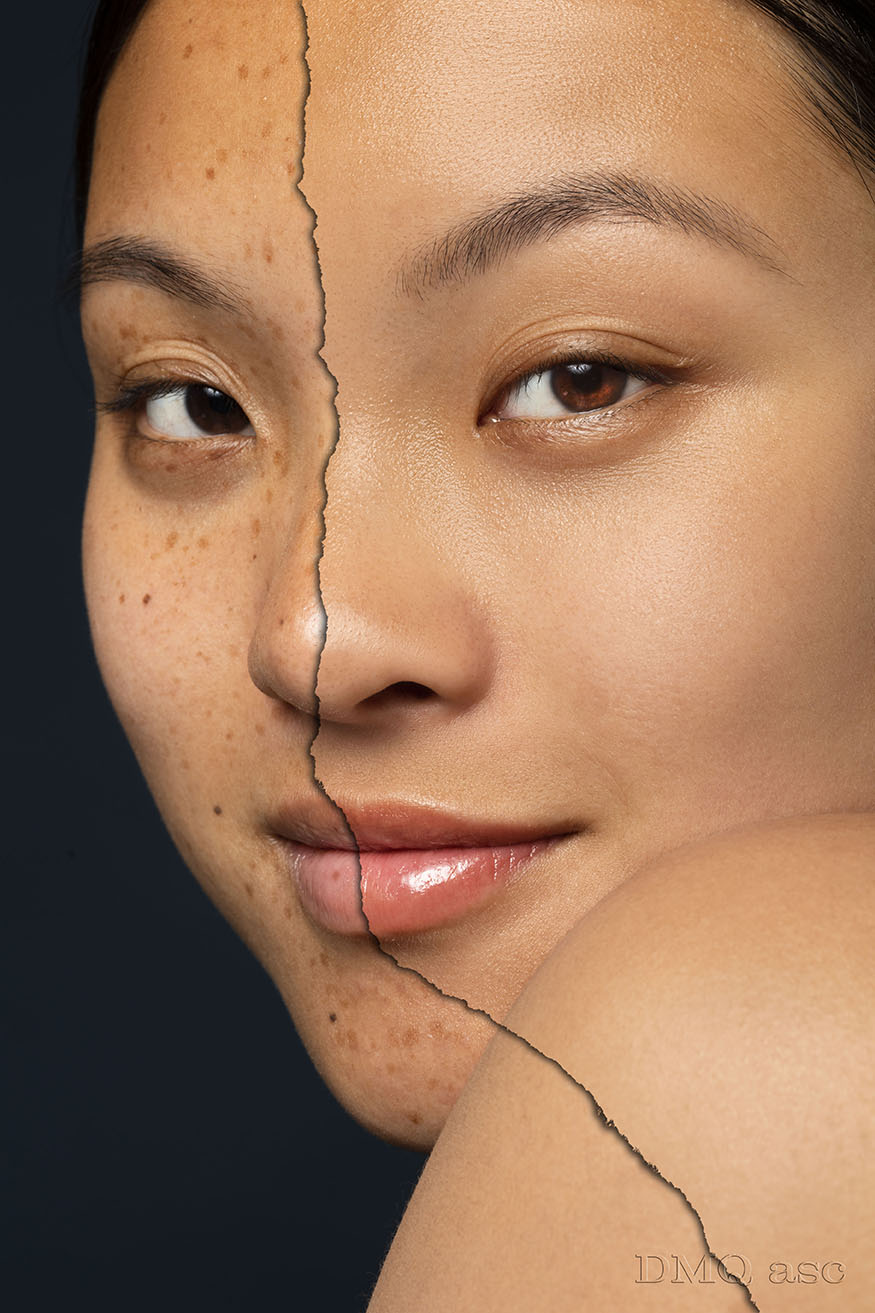
Here, I focused on both minimal and extensive retouching to illustrate the possibilities of changing our image. I worked on skin, lips, and eye corrections. For skin correction, I used high and low-frequency methods, specifically one of its options. Low frequency allows us to adjust color and tone, while high frequency lets us replicate the skin’s texture. (Here, I used blending of the low-frequency layer after removing imperfections). For lip correction, I only used darkening the entire color range and brightening the red channel. For eye correction, I used two layers, light and dark. On both, I replicated the eye texture and enhanced the color. For the above three corrections, I based them on the original image, not using any facial elements from other sources. Changes before and after are differentiated by a torn paper effect.
The models are myself and a person taken from FreePik’s sources (Thanks a lot). I also modified myself based on the 3D portrait motif, which could create a nice visual effect when presenting on various planes.
Source: www.freepik.com/
The selected graphics illustrate my skills in changing and affecting the visual appearance of a person, object, or landscape based on the original background. The final effect is subjective and covers a specific time frame. Each of us perceives things differently, and each of us has a different time frame or skill set. Posts published periodically with a specific thematic project aim to systematically collect materials illustrating graphic possibilities.
Enjoy watching!
In the graphic of the man, we have a before-and-after version. The skin has been cleaned and the color balanced while keeping the wrinkles. I corrected the eyebrows, beard, and nose hair. The eyes have been sharpened. The green glow has been removed, and the background has been replaced with a subtle gradient without saturation. The rest of the head has been blurred to avoid distraction. The retouching was done at approximately 30-40%.
f-3.2 1/800s
ISO 250 70-180@144mm
Photo: Bożena Ćmak
In the image of the woman, we have a before-and-after version. The skin has been cleaned, and the color has been balanced. I adjusted the lip color. The eyes have been sharpened. The background and hair were left unchanged. The retouching was done to about 70-80%.
f-14.0 1/160s
ISO 160 100mm
source: FreePik.com

In the graphic, we have one of the possible ways to place our image. Here, we have a circle with a subtle outline and a shadow cast downward. The shape can be anything—it could be a different shape, a number, or a letter integrated into our or another image.
The 3D graphic is an optical illusion and will continue to appear progressively.
The file is in PNG format, so everything except the colored pixels is transparent. A white background can also be an equally good result.