
SketchUp can create animations; most often I used Fredo’s Animator for this, and renders were done in V-Ray. As quality increased, I had to reckon with program instability, where every single frame was valuable.
In Blender, animation is just the beginning of full films. Altogether, this could be an interesting dissertation on why Blender is pushing out Adobe After Effects, where even plugins such as Elementor 3D don’t offer as many use cases as a simple 3D model placed on a plane in Blender.
Blender – one of the forms of a video clip based on 3D software, namely Terrain Animation in Blender.
In this post, several cool solutions have been hidden that showcase Blender’s capabilities.
The idea was born a long time ago, but back then there was no realistic representation and the results were only assumptions. Here we have a concrete house project situated on a specific piece of land.
Blender and/or other programs give us the ability to model a realistic building fitted into a realistic environment, where the individual components have concrete references encountered in real life.
I therefore invite you to watch a short animation and to familiarize yourself with the process behind its creation.
1. Environment
The environment is an HDRI sphere from Polyhaven (hilltop_construction.hdr in 8K), which is a full representation of a specific place captured in a 360-degree panorama. For my purposes, I used a location motif where the terrain matches a future construction site.
Using such an image is helpful for showing a given background or lighting. However, I also wanted to focus on a more realistic depiction, where scaling the object changes perspective, and where a model placed on the ground casts a shadow consistent with the lighting from the HDRI.
Our environment can be either exterior or interior, and both work perfectly for their purpose. This post presents an exterior, but I also plan to apply an interior to the background of our model. In both cases, we rely on applying our 360 image from the inside: the exterior is applied to a dome, while the interior can be applied to a simple cuboid imitating a given room, where the faces of these models are inverted and allow one-directional viewing, similar to a one-way mirror.
However, such an application has both pros and cons. Among the drawbacks are the cast shadow and the render speed when lighting from the dome is enabled. As for the cast shadow, the ground is a separate projection of our environment with a gradient-based spread meaning the most realistic shadow appears in the center. This is caused by softened edges or blending the ground with higher parts of the image. The sun is optimized through several nodes; specifically, the material receives information about the artificial lighting.
Additionally, our 360 environment is linked with the dome, which allows the shadow to remain realistically positioned when the dome is rotated.
An interesting fact is that any 360 panorama from a drone or cameras such as the Insta360 X5 can be used as such a background base.
2. Table and Map
The table is one of the simplest elements of this animation. Its task is merely to belong faithfully to the world of our HDRI map and be part of it.
The map, on the other hand, is an element of the animation that takes us into another world, where according to its guidelines something new is meant to be created, and in fact is created in a short visualization.
3. Camera and Lighting
The whole project is captured with three cameras. The first shows the beginning and the entirety of the static house construction animation. The second introduces the initial surroundings of the house. The third presents the garden design and the overall project.
All three cameras are controlled by three independent sources. These include a circular path along which the camera moves, allowing us through positioning or scaling to change the viewing angle or distance. The second source is a target based on an empty sphere, linked to the camera’s viewing direction. This allows us to change the focus of the view by moving it over time. The third and final source is the rotation of the camera as an object itself, which allows free rotation even in a static shot.
All three sources largely rely on linear motion, which avoids unnecessary acceleration, while motion smoothness becomes a matter of taste.
My main light source is the lighting coming from the HDRI map. However, in this particular case we are dealing with very harsh lighting that shadows the opposite side of the view, which led me to add two extreme and independent light sources to the model so as not to lose details hidden in the shadows. They are strong enough to make visible what we are looking at, yet small enough that the cast shadow can effectively eliminate colors or exposure levels.
4. Building
The building reflects a given design, with its components revealed sequentially. The order results from animation clarity and does not have to follow the actual construction sequence, just like the elements themselves, which are purely illustrative and do not have to meet building standards.
The animation includes a fully equipped building from walls and windows to interior furnishings which were selected randomly at my own discretion.
Some materials come from sites such as the previously mentioned Polyhaven (special thanks here to Rob Tuytel), but most were created using procedural materials.
5. Garden
The garden is a form of land development with an emphasis on functionality and relaxation. Grass and smaller flowers are distributed using Blender’s built-in tools, while larger plants and trees are independent 3D models. Other plants include procedural models based on geometry, such as ivy climbing up a wall or the chain of a swing. These are the result of hand-drawn lines applied to the surface of the façade or the spaces connecting the models.
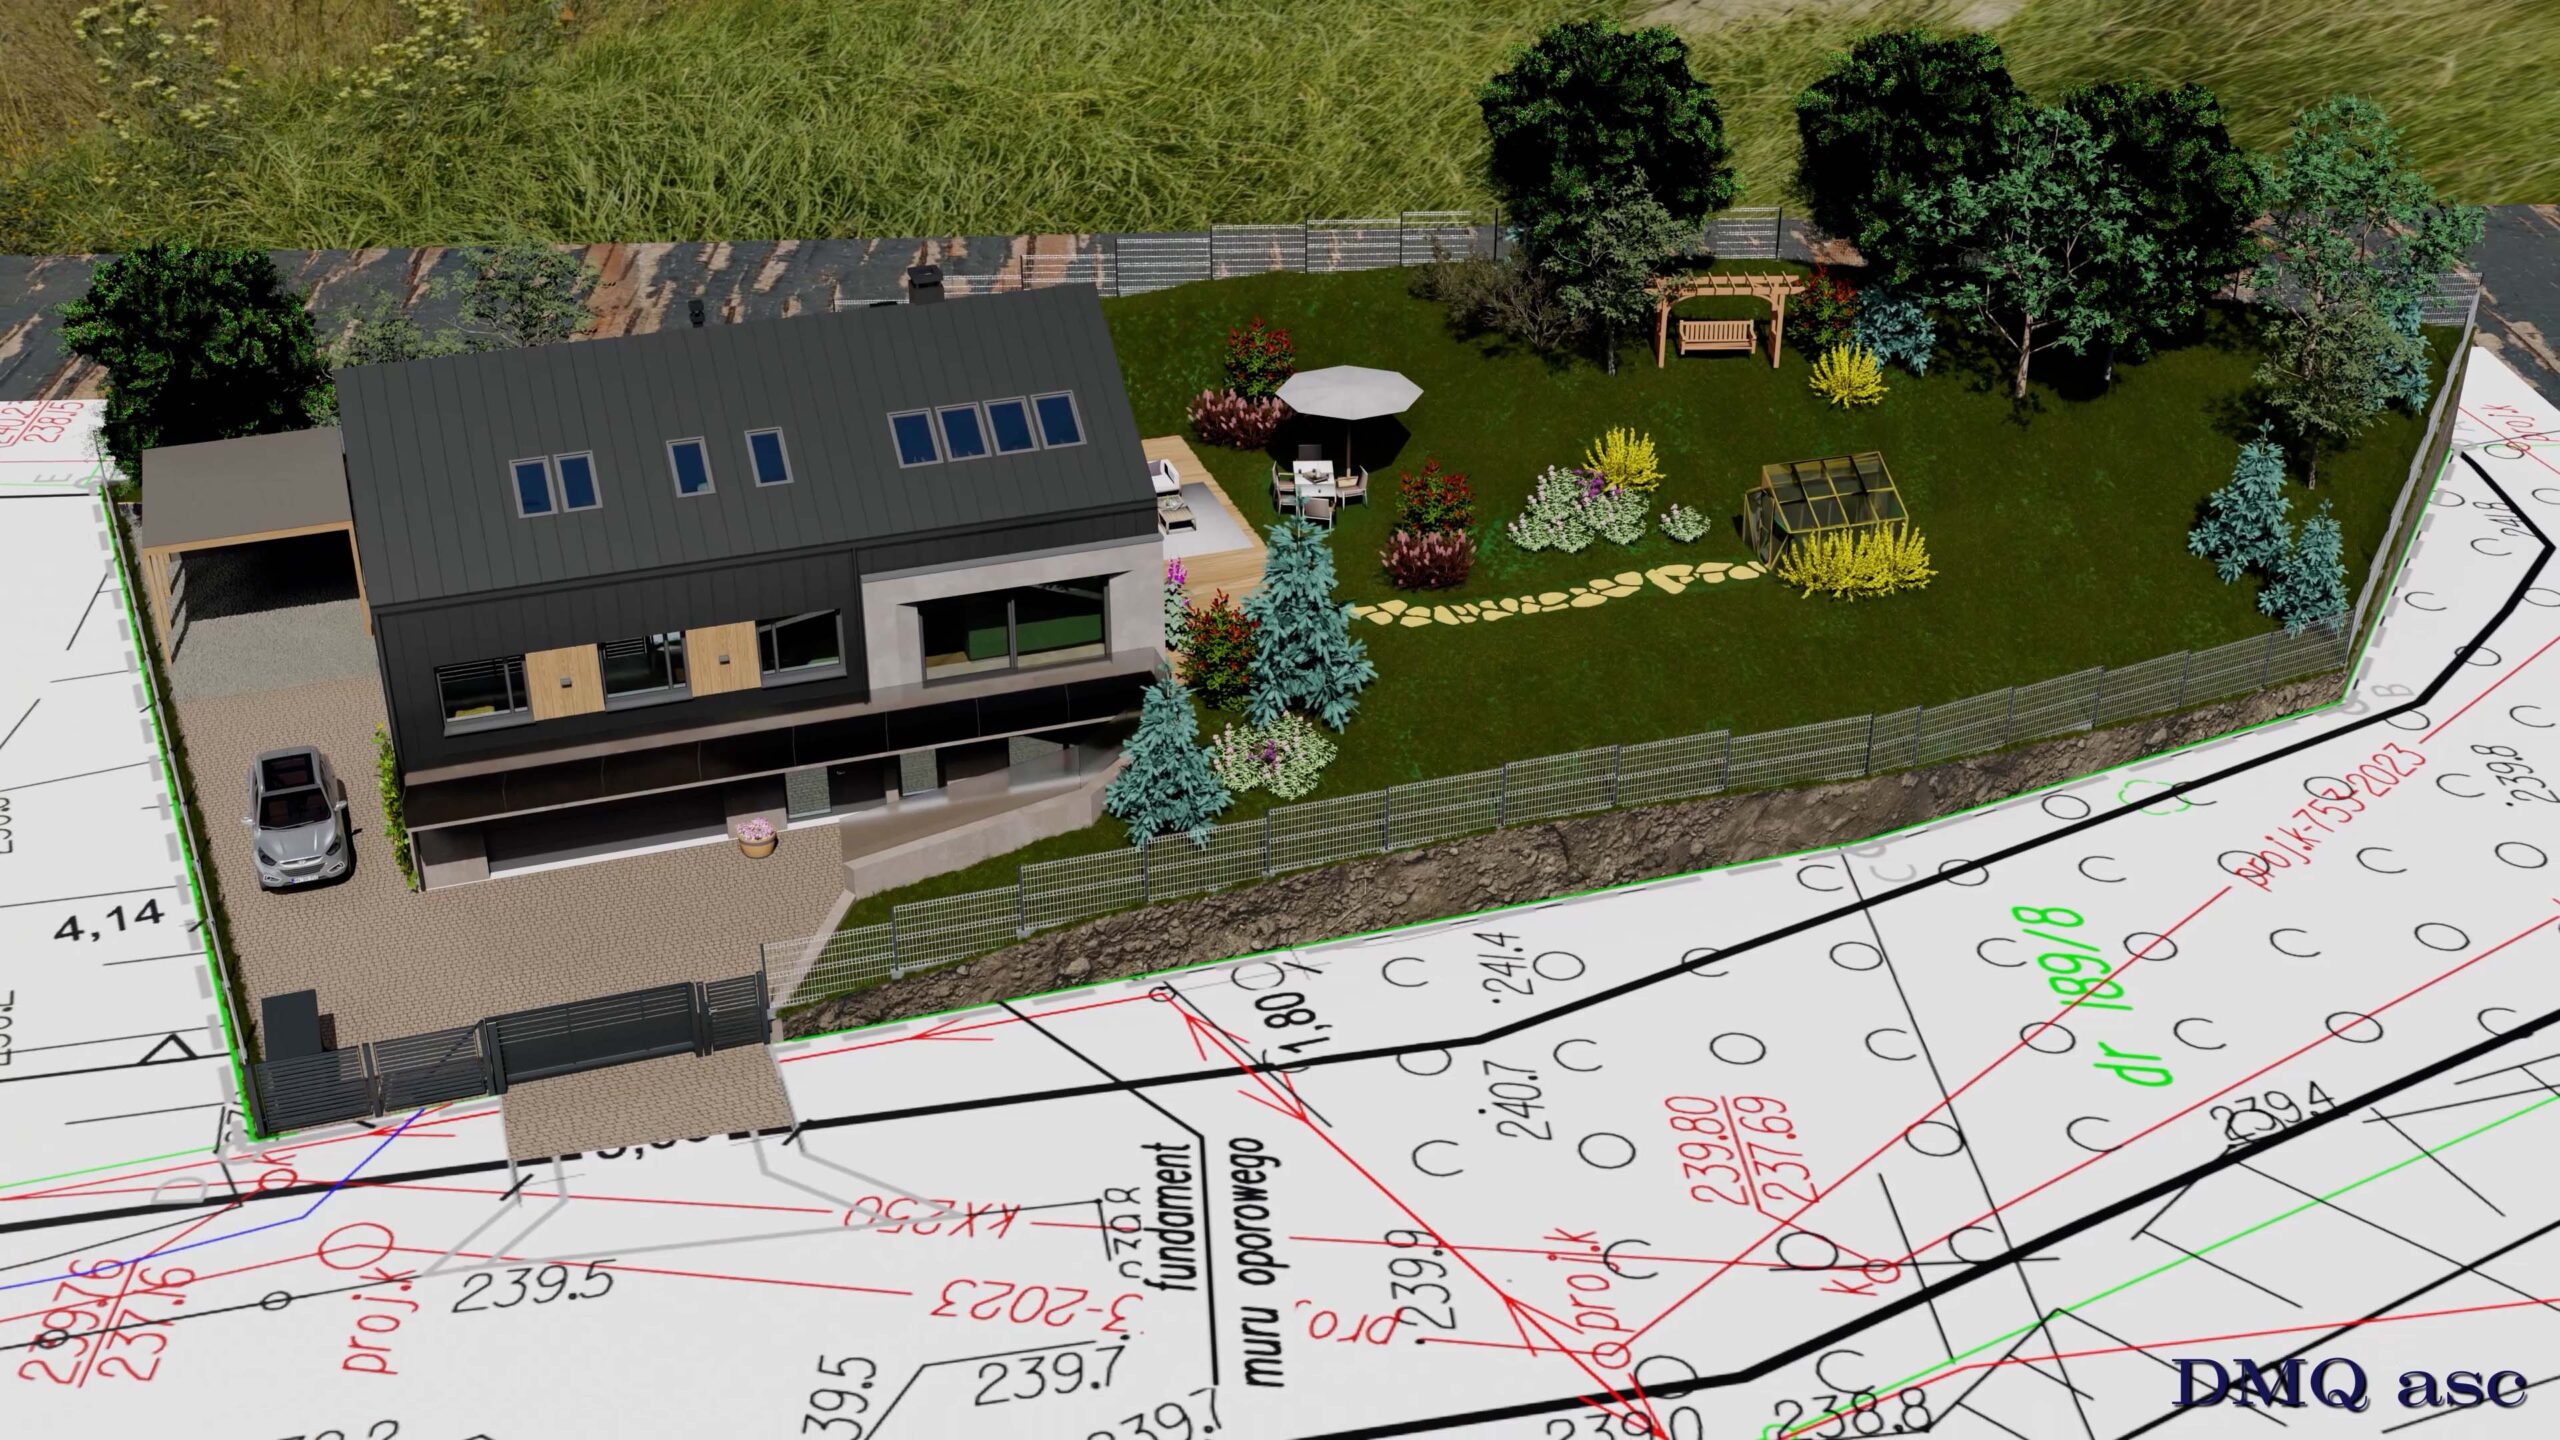
6. Terrain
The terrain was derived from a land development plan with the house layout applied. However, the terrain itself can be created using various methods.
We can use contour lines as a source for terrain elevation. We can use elevation data as a correlation for the terrain. We can use elevation data from the Geoportal website. Or we can load an achromatic heightmap, where brightness defines elevation.
The terrain, in correlation with the development plan, gives me an error of ±50 cm in height, which is a very good result considering the lack of geodetic measurements over a fairly large area.
7. Render and Video
The animation consists of 4,700 frames, intended for a film aimed at social media, thus 30 frames per second. This departs from the PAL system, which could conflict with local nomenclature, yet it is not a strict rule in itself.
The final frame has a 16:9 aspect ratio at 4K quality, i.e., 3840×2160 pixels. It was created from three formats. The first was HD, upscaled using an action and script in Adobe Photoshop (I omitted the TopazLabs filter here). The second was native 4K quality. The third was 6K quality downscaled to 4K using standard scaling in Adobe After Effects.
Resolution was chosen with regard to the speed of individual renders and the appearance of noise or flicker the more information, the higher the resolution while maintaining 100 samples in the Cycles engine. Denoising was applied during rendering, meaning no denoising in the final composition or multipass.
The music track was generated in Suno. Apart from the music, the project is free of AI inserts thus no models generated using artificial intelligence and no virtual walkthroughs based on key visualizations.
Selected graphics illustrate my ability to transform and create visual effects for a person, object, or landscape based on the original source. The final effect is subjective and applies to a specific time frame. Each of us perceives things differently, and each of us operates within a different time scope or skill set. Periodically published posts with clearly themed projects aim to systematically collect materials that showcase graphic capabilities.
Enjoy watching!