
Line Art Animation
Before I describe the components of this project…
Wishing you all the best in the New [2025] Year! May your ambitious plans come true…
What is Line Art?
Line art is an art form expressed through lines. It is usually monochromatic and depicts an object drawn with a pencil or another marking tool.
For my first project of the year, I wanted to showcase line art in the form of a short animation. My line art represents, in my opinion, the most characteristic elements of the year. Each illustration represents a symbol of a specific month, resulting in a total of 12 images.
The main themes for each month, according to my interpretation, are:
01 – January – Snowman
02 – February – Valentine’s Day
03 – March – Snowdrop (flower)
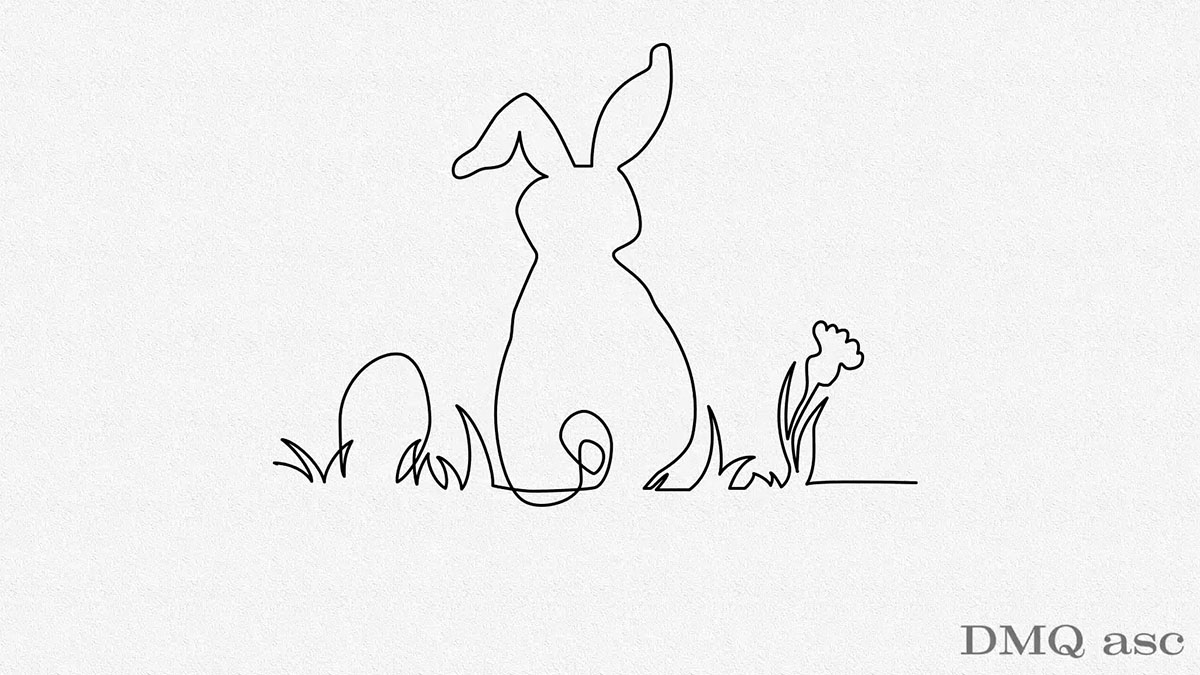
04 – April – Easter (regardless of the holiday’s shifting dates)
05 – May – High school graduation exams
06 – June – Sunny weather
07 – July – Beach vacation
08 – August – Mountain vacation
09 – September – Mushroom picking
10 – October – Falling leaves
11 – November – Memorial candle
12 – December – Christmas tree with presents
Project Breakdown
This project consists of several elements. To create this work, I used the following programs: Blender, Adobe Photoshop (PS), Adobe Illustrator (AI), Adobe After Effects (AE), Adobe Premiere Pro (PR), and Adobe Media Encoder (AME), as well as sound sources from Adobe Stock Free and AeJuice, along with inspiration from widely available online materials.
The video, sized 3840×2160 px at 30 fps (NTSC), was created by combining files from Blender and the Adobe suite.
Curtain Animation – Created in Blender using a simple plane with dense geometry. Basic Cloth functions were used to animate both the opening and closing sequences. The texture is a simple mix of procedural material nodes with a year label overlaid, matched to a UV map. Separate renders were created for 2024 and 2025. The output files were PNG sequences with an alpha channel to maintain transparency. A total of 360 frames were rendered for the intro and another 360 for the outro, which were then imported into AE.
Curtain Colors – Based on complementary colors (orange and blue). The choice of colors, materials, or any text/logo on the curtain is entirely customizable.
Background for the Title Text – Created in Photoshop using a simple texture from the Filter Gallery (paper imitation).
Illustrations – Inspired by internet references but entirely drawn by me in Adobe Illustrator using the Pen Tool. Each drawing consists of a uniform vector line (4pt thickness). My goal was to create a continuous line effect to give the animation a distinctive look. Different brushes or a masked photo/scan animation could also be used instead of a single line. Each illustration was arranged in layers and imported into AE.
Background for Line Art – I did not use an additional backdrop; the plain background serves as the only base layer. In some cases, effects like color spots or different background shades are used to enhance the line art, but I avoided these.
Connecting the 12 Illustrations – Linked using 11+2 additional lines drawn in AE, maintaining the same stroke thickness.
Animation Execution – Created in AE using the Trim Path feature, with keyframes arranged in a timeline and parented to a Null Object. The entire illustration was controlled via the Null Object’s position.
Music & Sound Effects – The background music was sourced from the free section of Adobe Stock (link below). Applause at the beginning and end was taken from the AeJuice platform. Audio was finalized in PR, where I had more control over editing, volume adjustments, fade-ins/outs, and accents. I did not remove reverb or background noise.
Export & Encoding – Done via AME to avoid overloading other programs. I used VBR2 instead of VBR1, with the first pass rendering static elements and the second pass handling the most dynamic parts (bitrate: 5–16 Mbps).
Branding Overlay – A static black logo at 50% transparency was added.
Final Export – Rendered as an MP4 file using the H.264 codec.
Future Plans
In my projects, I aim to integrate Blender (3D software) with the full Adobe Creative Cloud suite as much as possible.
Here are the links that helped me complete this project:
🔗 https://stock.adobe.com
🔗 https://aejuice.com/
The selected graphics illustrate my skills in changing and affecting the visual appearance of a person, object, or landscape based on the original background. The final effect is subjective and covers a specific time frame. Each of us perceives things differently, and each of us has a different time frame or skill set. Posts published periodically with a specific thematic project aim to systematically collect materials illustrating graphic possibilities.
🎥 Enjoy watching!